Fedora Setup for Zephyrus G14
The recommended flavour of Linux by asus-linux.org is Fedora, for its ease of use for new users, friendly community, and good support for the latest hardware.
This guide does not cover the choices of running Windows and Linux, or only Linux on your device, and their respective partitioning requirements.
For additional information not covered by this guide, see the installation instructions: Official Fedora install guide
For simple USB stick flashing: Fedora Media Writer
About Fedora Versions
This guide is updated for the current stable release of Fedora. If there is currently a Fedora beta, we will be testing this also.
However, please be aware:
- You need to keep Fedora up to date. If you are 2 versions behind, your OS is no longer supported by Fedora (updates, security, etc.)
- E.g. If Fedora 37 is the current stable release, and you are on Fedora 35, your OS is unsupported.
Preparations
Backup Propietary eSupport Drivers Folder
Stock installations of Windows on ASUS laptops include propietary drivers that cannot be sourced directly from the ASUS website or the MyASUS utility. Before removing the Windows partition or recovery partition these drivers should be backed up. If you ever decide to dual boot or run Windows in a VM, you will need a copy of the drivers for your specific model.
The folders can be found in C:\eSupport
Make sure to backup this folder before performing any destructive operations on your Windows partition!
Disable Secure Boot
To make sure Nvidia drivers and the necessary support modules work without issues, Secure Boot must be disabled in the UEFI.
- Press DEL repeatedly during boot to enter UEFI setup screen
- Press F7 for advanced mode
- Security → Secure Boot Control → Disable
- Save and exit
Use the Laptop Screen
Due to display signal routing on Asus ROG laptops, and the setup process dealing with multiple graphics devices, having external screens connected during setup may result in unpredictable behavior. Please follow this guide with all external displays disconnected.
Installation
-
Download Fedora 37 Workstation ISO file from the official Fedora website and write it to a USB stick.
Note: There are also respins available at Fedora Live Respin website. These are “refreshed” ISOs where the packages have been updated to the currently available package versions. This decreases the amount of updated you have to download after the installation. These ISOs will be available little bit after the offical stable releases launch.
If you want something else than Gnome as your Desktop Environment, you can check out Fedora Spins.
- If you have difficulties starting the live environment from USB, in the Fedora boot menu select: Troubleshooting → Start Fedora in basic graphics mode
- Follow the steps of the installer, and remove the USB stick when you reboot
- After rebooting, the installer will present a series of dialog boxes to configure wireless networking, privacy, third party repositories, cloud services, and finally a local user account. Ensure that third party repositories are enabled, so that the proprietary NVIDIA drivers can be installed (covered later in this guide).
Setup
Using the Terminal
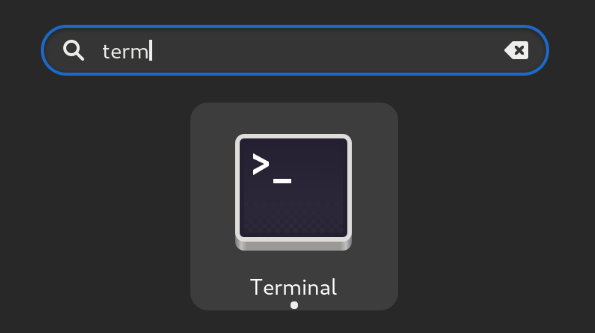
This guide requires typing terminal commands. To type them, start the Terminal application, which opens a window that has a command prompt.
To open the Terminal, simply press the Windows/Meta key to bring up the Activities view, and start typing “term” in the search box. Click on the search result.
Commands that have sudo in front are administrator commands, and may require you to type in your password.
Edit Default Package Repositories
Notes:
- Starting from 5.17.x, the required patches for 2020 and 2021 models have been merged into the upstream kernel. You do not need to use the rog/asus-kernel (ignore step 1).
- For 2022 laptop owners you will probably want to use the rog/asus-kernel. See step 1 below. Patches are scheduled for kernel 6.1.
- Asusctl and ROG-GUI use a copr to get updates
Note: There is nothing stopping you from using the rog/asus-kernel on 2020/21 laptops if you prefer.
- Edit the package repos required for 2022 laptops:
sudo gnome-text-editor /etc/yum.repos.d/fedora.repo /etc/yum.repos.d/fedora-updates.repo /etc/yum.repos.d/fedora-updates-testing.repo
NOTE: The above command opens three files, each in their own tab. All three files must be edited according to the instructions below. At the end of the block of lines starting with [fedora], [updates], and [updates-testing] respectively in each file add this line at the end of the block:
exclude=kernel kernel-core kernel-devel
The end result will look similar to:
[updates-testing]
name=Fedora $releasever - $basearch - Test Updates
#baseurl=http://download.example/pub/fedora/linux/updates/testing/$releasever/Everything/$basearch/
metalink=https://mirrors.fedoraproject.org/metalink?repo=updates-testing-f$releasever&arch=$basearch
enabled=0
countme=1
repo_gpgcheck=0
type=rpm
gpgcheck=1
metadata_expire=6h
gpgkey=file:///etc/pki/rpm-gpg/RPM-GPG-KEY-fedora-$releasever-$basearch
skip_if_unavailable=False
exclude=kernel kernel-core kernel-devel
[updates-testing-debuginfo]
Note the new-line after the exclude= line.
Save the files and close the editor.
- Add the copr for fedora-kernel (2022 laptops only)
sudo dnf copr enable lukenukem/asus-kernel - Add the copr for asusctl
sudo dnf copr enable lukenukem/asus-linux
Do Update
- Open Software store
- Navigate to Updates tab
- Click the Refresh-button in the top left corner
-
Download all available updates

-
After the updates have been downloaded, click the “Restart & Update” button
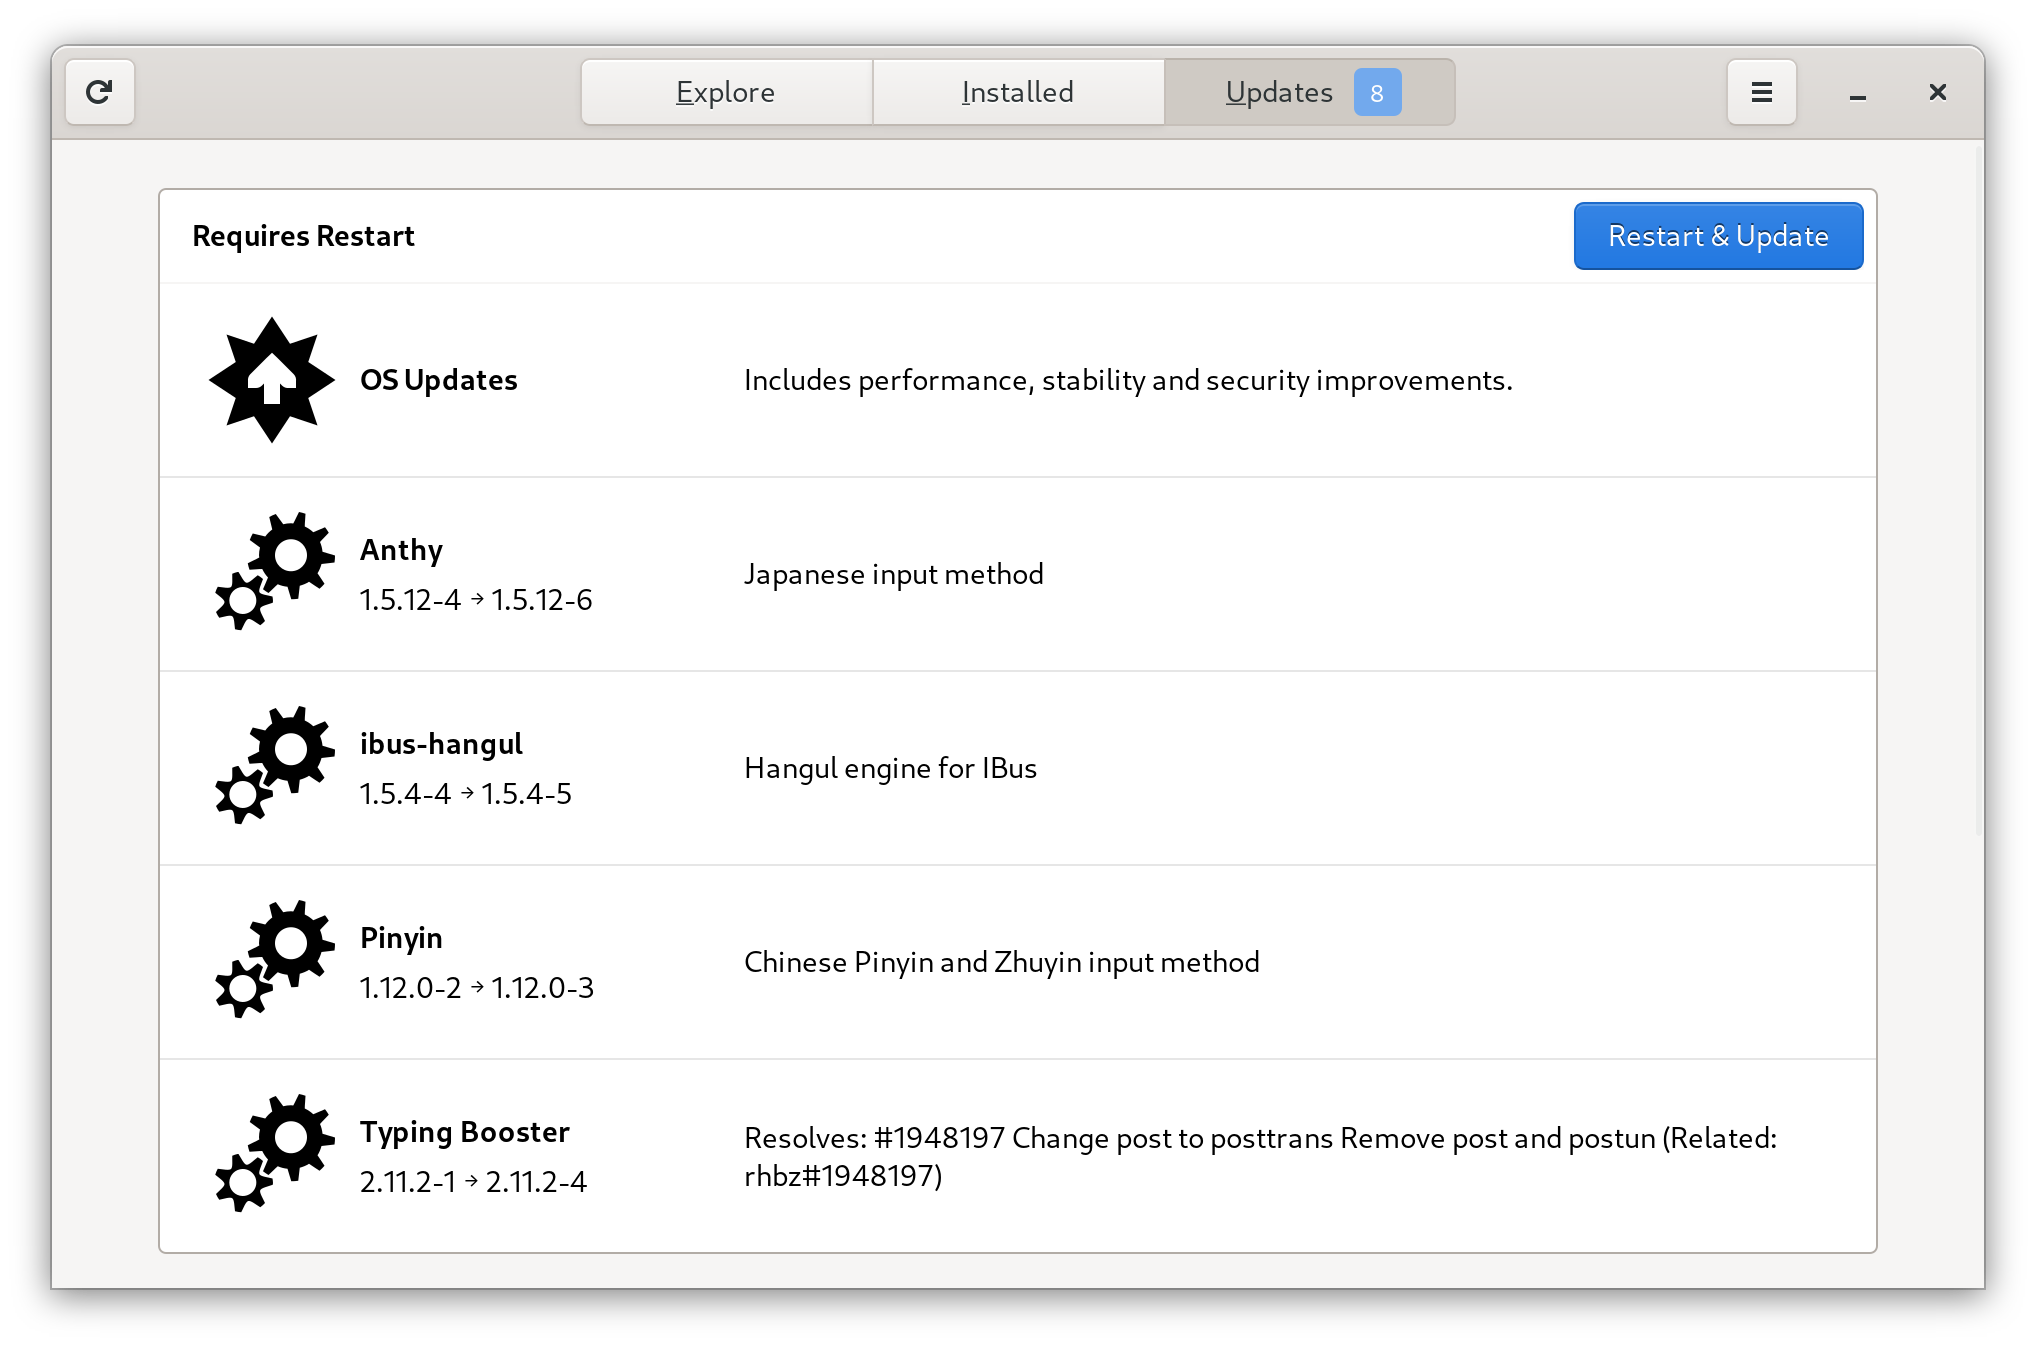
- When the updates have been installed, reboot your computer
NOTE: Upon restart the device is still possibly running in software rendering mode, symptoms:
- Laggy desktop
- Black screen after reboot
- Suspend on lid close not working
- Screen brightness control not working
- Multi-touch gestures not working This will all be addressed in the later steps.
Install Nvidia Graphics Drivers
The next step is to install the drivers for the Nvidia GPU.
- If you didn’t enable third-party repositories during the initial install wizard, you can use the following command to enable the RPM Fusion repositories required to install the Nvidia drivers:
sudo dnf install https://mirrors.rpmfusion.org/free/fedora/rpmfusion-free-release-$(rpm -E %fedora).noarch.rpm https://mirrors.rpmfusion.org/nonfree/fedora/rpmfusion-nonfree-release-$(rpm -E %fedora).noarch.rpm -
Input the following terminal commands:
 sudo dnf update -y
 sudo dnf install kernel-devel
 sudo dnf install akmod-nvidia xorg-x11-drv-nvidia-cuda
IMPORTANT: Please remember to wait after the RPM transaction ends, until the kmod get built. This can take up to 5 minutes on some systems.
-
Enable Nvidia power services:
sudo systemctl enable nvidia-hibernate.service nvidia-suspend.service nvidia-resume.service
Update System Boot Configuration
-
In Terminal, launch the text editor to edit the system boot options.
sudo gedit /etc/default/grubEdit the file to look like below. Note that if disk encryption was enabled during installation, there will be additional configuration text in the GRUB_CMDLINE_LINUX line that must be preserved.
 GRUB_TIMEOUT=5
 GRUB_DISTRIBUTOR="$(sed 's, release .*$,,g' /etc/system-release)"
 GRUB_DEFAULT=saved
 GRUB_DISABLE_SUBMENU=true
 GRUB_TERMINAL_OUTPUT="console"
 GRUB_CMDLINE_LINUX="rd.driver.blacklist=nouveau modprobe.blacklist=nouveau nvidia-drm.modeset=1 rhgb quiet"
 GRUB_DISABLE_RECOVERY="true"
 GRUB_ENABLE_BLSCFG=true
There are usually only one modification to make:
- Fedora installer may create duplicates of
rd.driver.blacklist=nouveau,modprobe.blacklist=nouveau, andnvidia-drm.modeset=1. These duplicates can be safely deleted.
Optionally, if the install guide has been deviated from, the same line of text that contains the previous changes may also contain a standalone word
nomodeset. This must be removed or graphics acceleration is disabled.Save the file and close the editor.
- Fedora installer may create duplicates of
-
Update grub:
The edits made to the grub file need to be updated to the system. This is just a single terminal command.
sudo grub2-mkconfig -o /etc/grub2.cfg -
Reboot
EXTERNAL DISPLAYS README!
nvidia-drm.modeset=0 may prevent use of the dGPU connected display output if you have one. It might also prevent some screen mode changes. If things are not behaving as you would expect then set this to 1.
Install asusctl
The final section is to install asusctl and its supporting software. This enables controls for the Asus ROG hardware on the laptop.
-
Install asusctl
sudo dnf install asusctl supergfxctl sudo dnf update --refresh sudo systemctl enable supergfxd.service - Install asusctl-rog-gui (Optional)
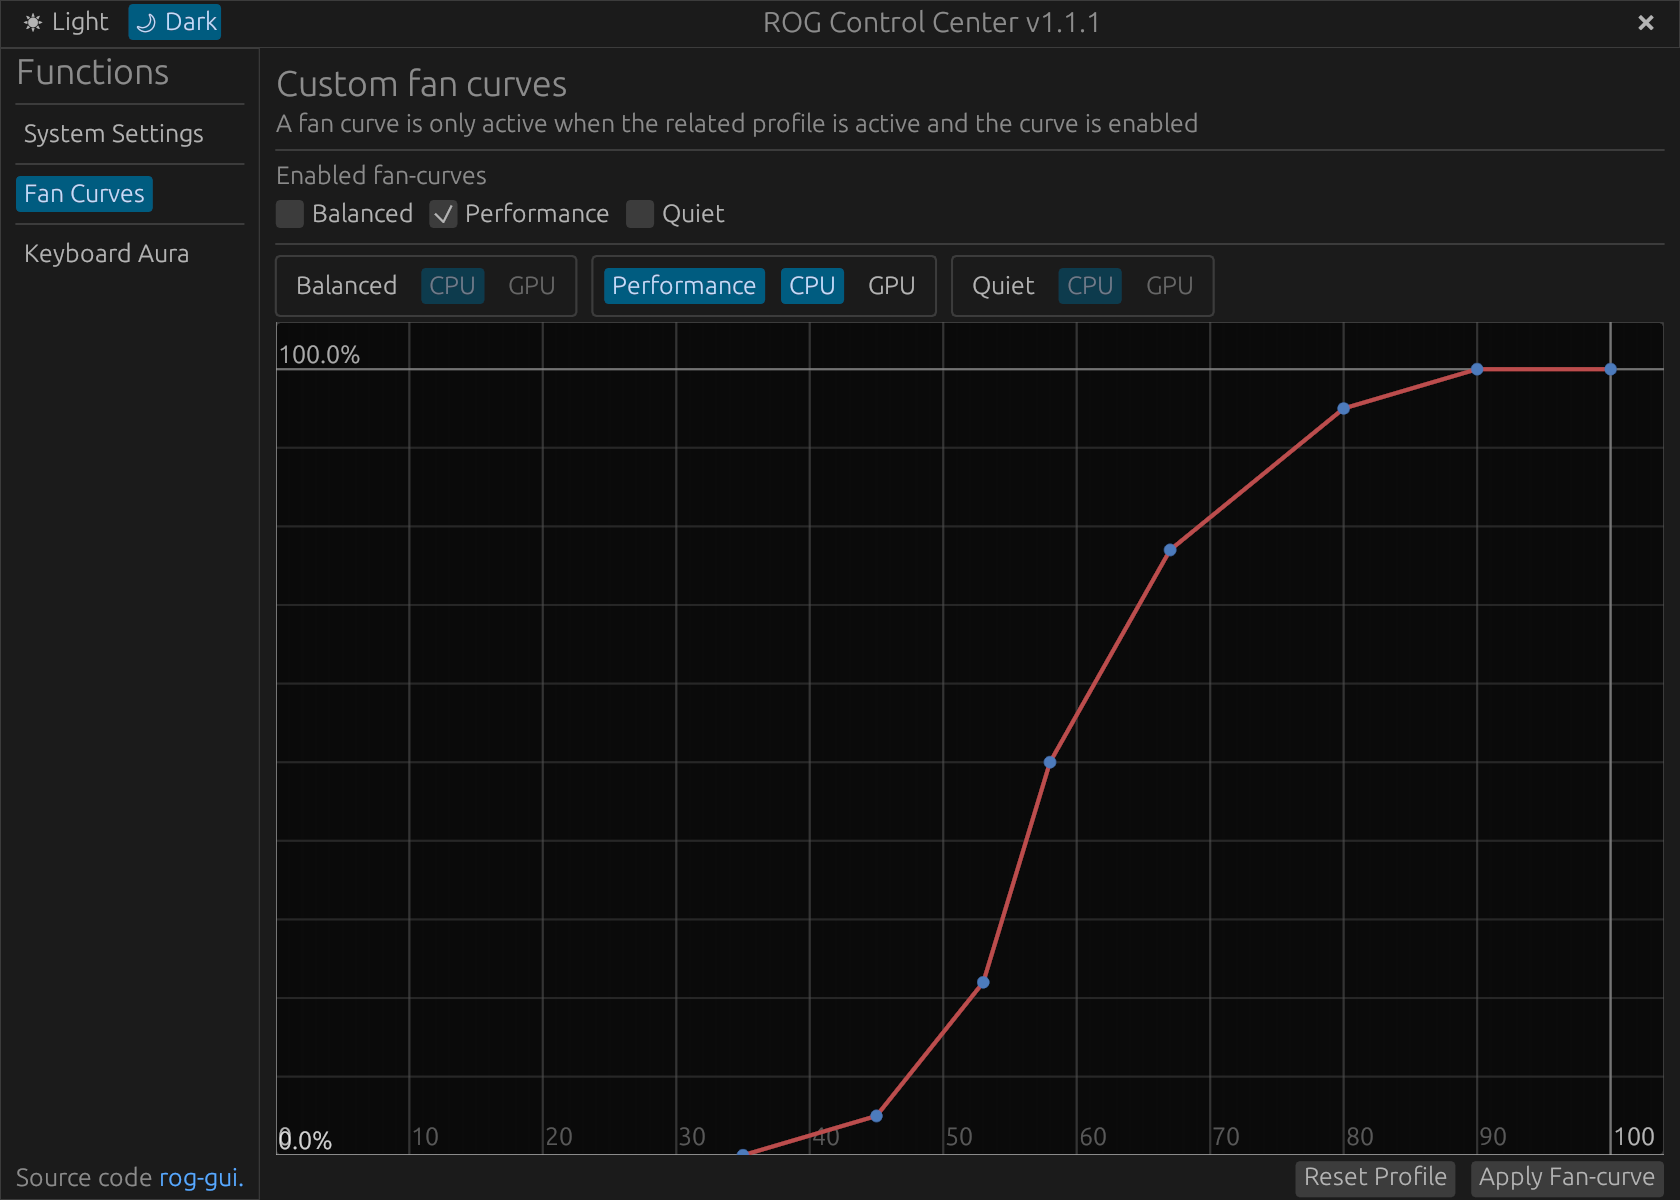
You can now install a gui app for various controls such as fan curves and keyboard profiles with the following command:
sudo dnf install asusctl-rog-gui
-
Reboot
After the reboot, you should have a fully functional Fedora laptop, with ROG hardware features enabled.
Please note that asusctl/supergfxctl is under continuous development, and will improve in capability over time.
Optional Steps
Enabling Secure Boot
With Fedora 36 and above, it has become super easy to auto sign kernel modules and enable secure boot. To enable auto signing follow these steps:
- Install the required tools
sudo dnf install kmodtool akmods mokutil openssl
- Initiate the key enrollment
NOTE: This step requires a password, it doesn’t need to be fancy. You’ll just need it once during the enrollment.
sudo mokutil --import /etc/pki/akmods/certs/public_key.der
-
Reboot to enroll the key. When you reboot, the MOK Manager will appear, just hit “Enroll MOK” and enter the password set in step 2. After that is completed choose “Continue boot”.
-
Rebuild the kernel module. The key has successfully enrolled but our kernel modules that have been built before are still unsigned, to sign them, they need to be rebuilt again, below the process is explained for NVIDIA kernel module.
akmods --force does NOT rebuild the modules as long as it thinks the modules are already built, to force it to rebuild the modules, make a copy of akmods script (cp $(which akmods) /tmp/akmods) and modify it:
- Locate
check_kmod_up2datefunction, make it alwaysreturn 1. The modified function should look like this:
check_kmod_up2date() {
    return 1 # we want it to always return 1 so it will build the module
    local this_kernelver=${1}
    local this_kmodname=${2}
    local kmodpackage_file="$(modinfo ${this_kmodname} -k ${this_kernelver} -n 2>/dev/null)"
- Locate the line responsible for
dnf installinbuildinstall_kmodfunction, changednf installtodnf reinstall, the function should look like this after your modifications:buildinstall_kmod() { local this_kernelver=${1} local this_kmodname=${2} local this_kmodsrpm=${3} local this_kmodverrel=${4} # ..... snipped .... # dnf/yum install - repository disabled on purpose see rfbz#3350 akmods_echo 1 4 "Installing newly built rpms" if [[ -f /usr/bin/dnf ]]; then akmods_echo 1 4 "DNF detected" dnf -y reinstall --disablerepo='*' $(find "${tmpdir}results" -type f -name '*.rpm' | grep -v debuginfo) >>kmod.log 2>&1 else akmods_echo 1 4 "DNF not found, using YUM instead." yum -y install --disablerepo='*' $(find "${tmpdir}results" -type f -name '*.rpm' | grep -v debuginfo) >>"${kmodlogfile}" 2>&1 fi local returncode=$? # ..... snipped .... - Save the script and run it with
sudo bash /tmp/akmodsFrom now on the NVIDIA kernel module will be automatically signed when there is a kernel update or driver update.- Enable Secure Boot from BIOS.
Keyboard Backlight
If the keyboard backlight does not work automatically, set a mode in asusctl:
asusctl led-mode staticRGB Backlights
If an RGB capable laptop has no led modes available, then the /etc/asusd/asusd-ledmodes.toml file needs adjusting:
cat /sys/class/dmi/id/product_family # provides the prod_family var,
cat /sys/class/dmi/id/board_name # provides name to be added to board_names.
Edit the configuration file and add the needed values:
sudo gedit /etc/asusd/asusd-ledmodes.tomlSave the file and close the text editor.
Switching from Nvidia GPU to AMD Integrated
If the laptop has booted in Nvidia mode, switching to AMD integrated graphics and the Wayland desktop requires a reboot. To fix this so the switch only requires a logout/login, change the following:
sudo gedit /lib/udev/rules.d/61-gdm.rulesEdit the following lines of text to have a hash in the front, as in the example. This will disable the settings.
# ATTR{parameters/modeset}!="Y", GOTO="gdm_disable_wayland"Save the file and close the editor. Reboot to enable the change.
Hide an Unnecessary Boot Message
When booting the computer in integrated mode, a message displays “Nvidia kernel module not found. Falling back to Nouveau.” This is harmless and normal for asusctl integrated mode, but may feel distracting. To disable the message, input this terminal command:
sudo systemctl mask nvidia-fallback.serviceDesktop Wigdets
If the Rog Control Center tray menu is not enough then you m ight try some Gnome desktop widgets to operate some aspects of asusctl and supergfxctl:
- Enable Secure Boot from BIOS.
- Gnome shell extension supergfxctl-gex
- Gnome Shell extension power profiles indicator
The previous asusctl-gex extension is currently not maintained and not available for install.
Known Limitations
Nvidia GPU suspend issue on 2020 models of Zephyrus G14 and G15
Be aware that the Nvidia GPU on the 2020 models of G14 and G15 has an issue concerning power draw. In general, the GPU fails to enter a low-power state even when idle, and this causes unnecessary power draw and heat generation. This issue has been addressed in the 2021 models. Things have improved for the 2020 models with Wayland and the 470 driver (read below).
Nvidia Graphics on Wayland Desktop
The default Gnome desktop in Fedora 34 and newer uses a new protocol called Wayland. Since the 470 Nvidia driver version it is possible to run Wayland desktop on Nvidia GPUs. This is a major update to the capability and utility of Nvidia graphics on ROG laptops, but because this is a new development, there are still lingering issues.
- Exclusive Nvidia mode does not work Currently the asusctl Nvidia mode which runs everything exclusively on the more powerful GPU does not work. This is due to a remaining issue on the 470 driver related to technology called Reverse-PRIME, a method of passing graphics rendered by the Nvidia GPU back to the AMD integrated graphics.
- USB-C DisplayPort output does not work on Wayland Another Reverse-PRIME issue is that if you need to use an external display with the DisplayPort connection (via USB-C or a dock), it only works on the X.org desktop. This issue does not affect all ROG laptop models, but depends on their internal signal routing.
- Compute vs. hybrid on Zephyrus G14 and G15 Currently the best way to take advantage of Nvidia graphics on Wayland desktop is to use asusctl integrated graphics mode, and enable compute if you wish to run applications using the Nvidia GPU. In compute mode, the Nvidia GPU automatically suspends even on 2020 models when it has no active processes, reducing power consumption. On these laptops, compute mode can also be disabled manually without requiring a logout/login. Hybrid mode is also operational on Wayland, and there are early reports of a slight performance benefit. On 2020 G14 and G15 the hybrid mode suffers from the GPU suspend issue, increasing power consumption and heat output when idle. Both modes currently offer the same functionality despite their naming because Wayland does not respect X.org settings.
- Disabling compute
If asusctl fails to disable compute, there are likely active processes still using the Nvidia device. Check for these with
nvidia-smiandlsof /dev/nvidia*commands. - Resuming from suspend Applications that were running on the Nvidia GPU may have all-black windows after resuming from sleep. No workaround for this issue exists yet. Enabling Nvidia suspend/resume/hibernate services does not address the matter. For older Nvidia drivers (pre-470) whenever Nvidia graphics are enabled, in either standalone or hybrid mode, using the X.org desktop is necessary. To select the correct desktop environment, click on the gear icon in the bottom right corner of the login screen. Select “Gnome” with asusctl in integrated graphics mode to run Wayland, or “Gnome on Xorg” when Nvidia graphics are enabled in hybrid or exclusive mode.
author = “Jani Kahrama” contributors = “Kyle McGrath, Luke Jones” Reference: https://gitlab.com/asus-linux/